WebRTC on a drone
Team ipcortex put together the keevio eye hack for the TADHack London mini hackathon at Idea London on 11-12th April. The idea was to develop a proof of concept for WebRTC running headless on small embedded devices and talking to our keevio video chat interface. Hardly mission critical but TADHack is a load of fun, and a good way of trying stuff out that pushes the technology envelope a bit which inevitably ends up feeding back useful ideas and techniques into our core platforms. There was also a lot riding on this after our success with RTCEmergency at TADHack last year. Matt Preskett is one of our lead developers and the guy behind the hack, and this is his write up of the experience of developing the app.
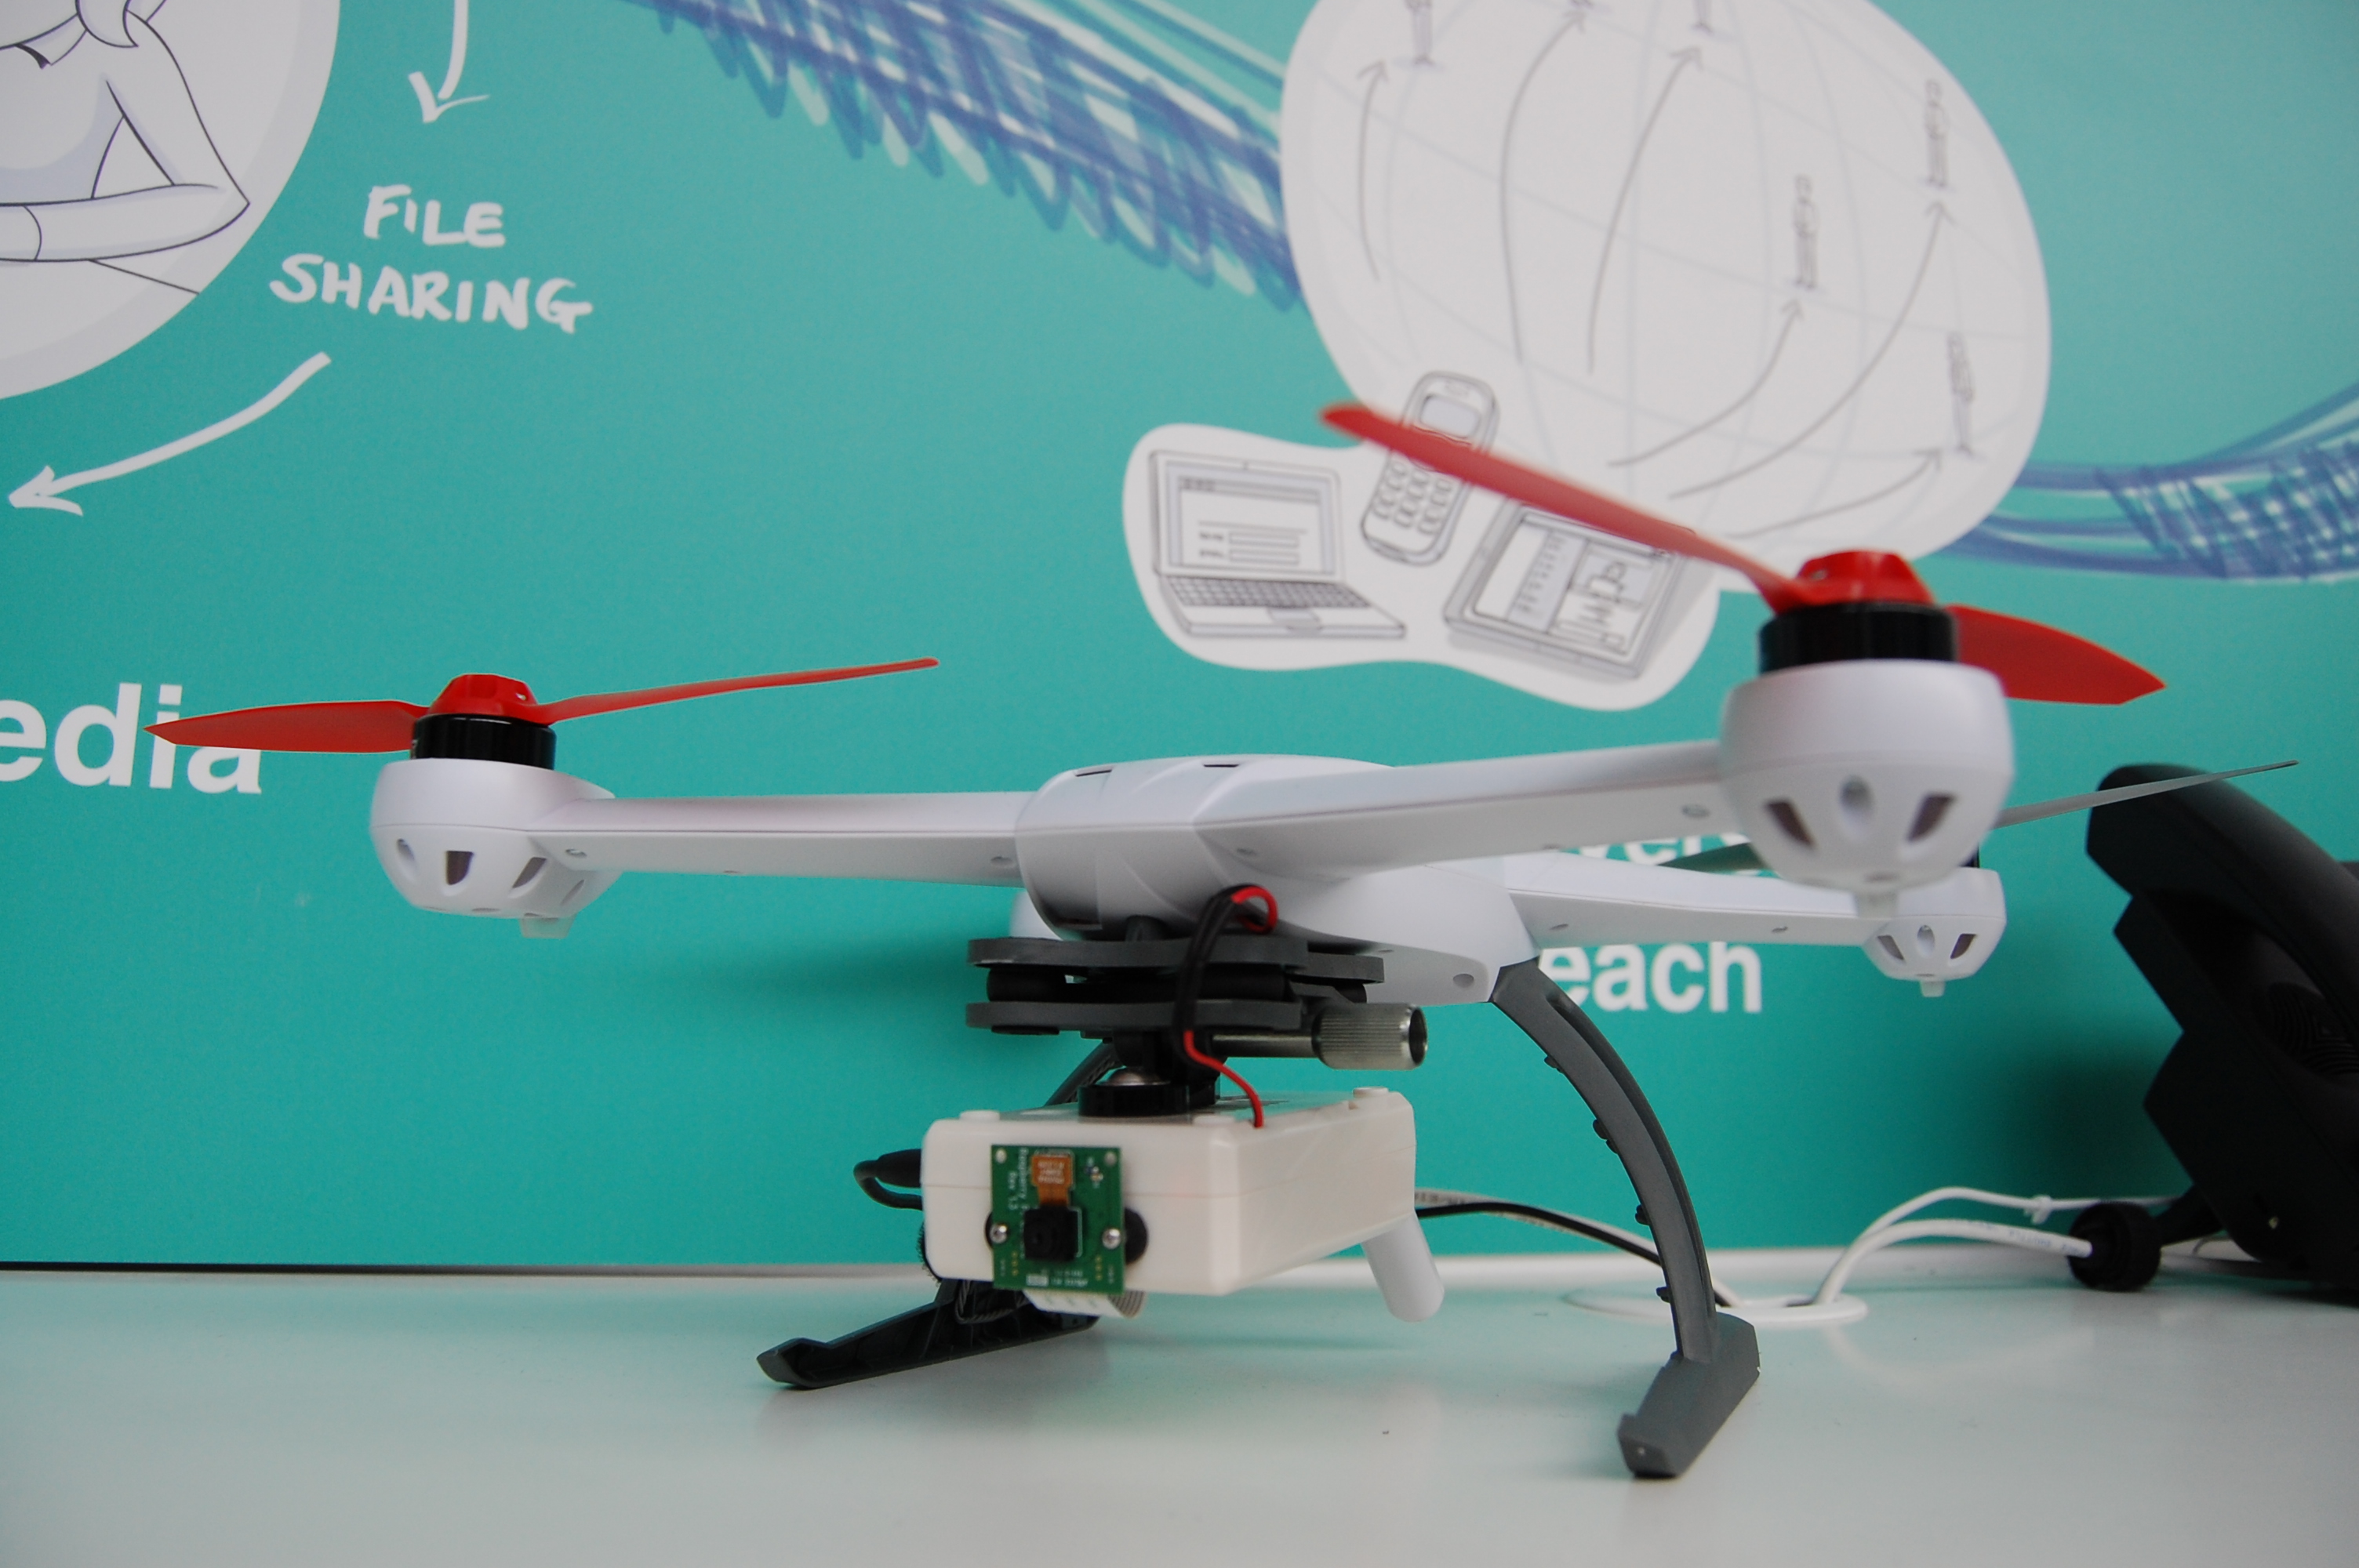
On the Tuesday evening before TADHack we hadn’t had time to think about possible hacks. We’d been busy with other events and the process of progressing our core keevio platform towards release. A few months ago we were playing with the idea of a WebRTC Raspberry Pi security camera for our bike shed, so as I walked out of the office I suggested, perhaps to my detriment, that it might be a fun idea to use our JavaScript API, running on a Raspberry Pi strapped to the bottom of a quad copter feeding live video via WebRTC…
I did a bit of research on Tuesday evening, but decided with the timescales involved and some of the parts/equipment needed that perhaps we were biting off more than we could chew. Also I wasn’t really sure how I was going to run our API on a headless Raspberry Pi 50ft in the air. Even if that could be overcome I wasn’t sure the ARM processor would be up to the task of decrypting and encrypting the streams.
Wednesday morning I had all but written off the idea. At the time I was working on load testing our UC platform, which required running our API on a headless server. I set about looking into running headless Chromium, and, by the end of Wednesday with the help of Xvfb I had our API running and automatically accepting video chat from keevio.
Thursday was a busy day we didn’t really have an opportunity to discuss the hack. Rob as perhaps a sign of desperation speculatively ordered a Pi and Pi camera.
Friday morning and we still hadn’t concluded what we’d be doing for the hack, after a quick meeting we gave Pi copter (Pi in the sky?) the go ahead. We had just over 48 hours to put all the pieces together. I started off with Raspbian; I don’t really like the extra gumpf that comes with this distribution but I didn’t have time to piece a fresh instance of Debian together. Raspbian only offers Chromium 22 in its repositories; this was when WebRTC was in its infancy. I looked at compiling the latest Chromium, but this would require either a cross compile environment or compiling on the Pi, neither of which I had time for. I looked around again for an alternative distribution and settled on Arch after checking that they offered an up to date version of Chromium for ARM. It’s a bit bleeding edge but more than sufficient for our requirements.
After getting the Pi installed the first thing was to get Chromium to recognise the camera. Chromium talks to video devices through the V4L component of linux.
I inserted the following lines to /boot/config.txt to enable the camera:
gpu_mem=128
start_file=start_x.elf
fixup_file=fixup_x.dat
Then I added the camera module to /etc/modules-load.d/raspberrypi.conf:
bcm2835-v4l2
After rebooting the Pi, udev created a /dev/video0 device, so it was looking good. The next step was to install Chromium, Xvfb and lighttpd. I setup lighttpd to listen on loopback as I was going to be hard coding the username and password into the webpage: not nice but necessary.
This is the JavaScript I wrote for the hack, due to using our API I could keep it short and sweet.
var keevioShare = (

  function(username, password) {
function avCB(av) {
console.log('INFO: avCB with', av);
if ( av.get('existing') )
return;av.hook(
function() {
if ( av.get('status') != 'acknowledged' )
return;
getUserMedia(
{
video: {mandatory: {maxWidth: 640, maxHeight: 480}},
audio: false
},
function(stream) {
av.accept(stream);
console.log('INFO: Accepted request with', stream);
},
function(e) {
console.log(e);
}
);
console.log('INFO: Getting user media.');
}
);
}function authCB(authenticated) {
if ( authenticated ) {
IPCortex.PBX.startPoll(
function() {
if ( ! IPCortex.PBX.enableFeature('av', avCB, ['chat']) )
console.log('ERROR: av not enabled!');
/* Set myself online */
IPCortex.PBX.enableChat(function() { });
},function(number, description) {
console.log('ERROR: API reports ' + description + '!');
}
);
console.log('INFO: Authenticated.');
} else
console.log('ERROR: Failed to authenticate!');
}
onAPILoadReady = (
function() {
IPCortex.PBX.Auth.login(username, password, null, authCB);
}
);
}
);
Next I needed Chromium to start automatically on boot, I cheated a little bit by using cron. I’m not overly familiar with systemd so writing a startup script didn’t seem a priority with the time scale involved. I added the following to crontab:
@reboot /usr/bin/xvfb-run –wait=15 /usr/bin/chromium –use-fake-ui-for-media-stream –disable-default-apps –remote-debugging-port=9222 –user-data-dir=remote-profile http://
localhost &
Chromium required a few switches to allow it to run headless:
1) To stop Chromium asking for permission to access the camera:
–use-fake-ui-for-media-stream
2) To stop Chromium asking to be set as default:
–disable-default-apps
3) For remote debugging (it only listens on loopback):
–remote-debugging-port=9222
4) Place the users Chromium profile in a defined location:
–user-data-dir
At this point I started running into trouble with the camera. Every time I started up Chromium I could only get a maximum resolution of 16×16 no matter what v4l2-ctl commands I ran, which wasn’t going to be a good experience. After quite a lot of searching I found the solution and added the following to /etc/modprobe.d/bcm2835.conf:
options bcm2835-v4l2 gst_v4l2src_is_broken=1
We needed to serve everything over https as Rob was going to be in London and I would be back in Buckinghamshire flying the quad. That caused me another headache as you can’t load secure and insecure content in the same page. I setup lighttpd to serve pages via https using a self-signed certificate for localhost. Due to Chromium running headless I couldn’t accept the certificate security warnings; I needed access to the Xvfb instance. Installing x11vnc enabled access to the X display. I started the service using the following command on the Pi:
# x11vnc -localhost -display :99
By default xvfb-run starts on display 99. I port forwarded VNC via SSH:
# ssh root@(hostname) -L 5900:127.0.0.1:5900
Then I connected using vncviewer to localhost; this allowed me to import the localhost certificate into Chromium’s certificate authority to stop the security warnings.
I settled on netctl to setup the wireless network as this was quick and easy, after having a bit of a nightmare with an access point I borrowed from work I ended up using an old Sky router I had lying around.
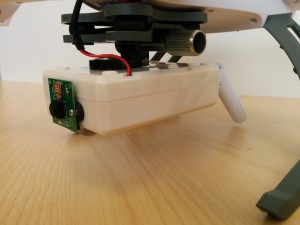
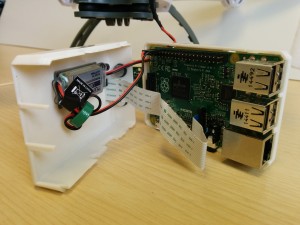
Finally I put everything together. Feeding power from the balanced charging port of the LiPo battery to a 5V UBEC into the Pi’s GPIO interface. In the process, I managed to accidentally reverse the polarity into the GPIO… which felt like game over as it was now midday Saturday. Luckily something in the supply saved me and it was OK. Attaching the Pi to the quad was an engineering challenge in itself but inventive use of zip ties and self adhesive pads worked out. After a quick test run we got clean video up to 150M and still received video up to 300M.
Here’s a quick video of keevio eye in action!
Previous posts from the ipcortex WebRTC week:
Wormholes, WebRTC and the implications of algorithmical analysis
Matrix.org: Defragmenting today’s communications
WebRTC – where are the real world applications?
Welcome to ipcortex WebRTC week on trefor.net
Check out all our WebRTC posts here


